Home Nail Arts 4 Techniques of Ombre Nail Art

4 Techniques of Ombre Nail Art

by Ruksana@
0 comment 261 views
Ombre Nail Art

Ombre Nail Art: A Gradient of Elegance at Your Fingertips

Ombre nail art has become a captivating trend in the realm of nail design, offering a seamless blend of colors that transitions from one shade to another. This style not only adds a touch of sophistication but also allows for endless creativity. In this exploration of Ombre nail art, we’ll delve into the origins, popular techniques, and tips for achieving stunning gradient nails.

The Origin of Ombre Nails

The term “Ombre” originates from the French word meaning “shaded” or “shading.” The Ombre technique, initially prominent in the world of hair coloring, made its way to the realm of nails, introducing a gradient effect that has since taken the beauty industry by storm. Ombre nail art provide a dynamic and an eye-catching look, blending hues seamlessly for a stylish and polished appearance.

How to do an ombre on nails?

Sponge Method

Utilize a makeup sponge to apply different shades of nail polish onto the sponge. Gently press the sponge onto your nails, allowing the colors to blend naturally. This method offers a soft and gradual Ombre nail art effect. 

spong

Sponge Tool Brush for ombre nail art

Brush Blend

Apply each nail polish color side by side on a palette or directly onto the nail. Use a clean brush to blend the colors together, creating a smooth transition from one shade to the next. This technique provides more control over the blending process.

Ombre Nail Art

Blend brush for ombre nail art
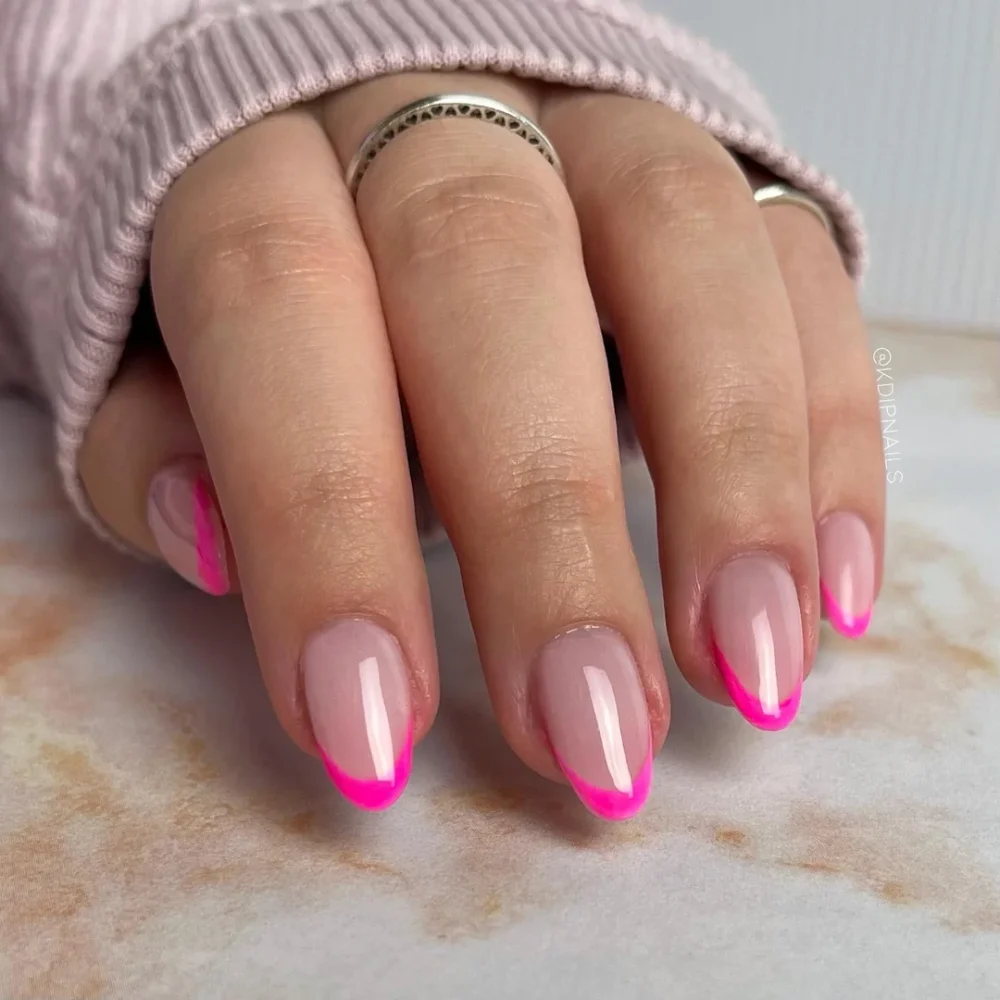
Dip Powder Ombre

Dip powder nails have gained popularity, and achieving an Ombre effect with this method is no exception. Dip each nail into different colored powders consecutively, resulting in a flawless gradient finish.

Deep Powder

Water Marble Ombre

Experiment with water marbling to create a unique Ombre effect. Drop different nail polish colors onto the water’s surface, swirl them together, and then you dip your nails into the design. This technique offers a mesmerizing and abstract Ombre appearance.

Water Marble

Tips for Perfecting Your Ombre Nails

Choose Complementary Colors

Opt for colors that naturally blend well together. Whether you prefer subtle pastels or bold neons, selecting complementary hues enhances the overall Ombre effect.

Practice Patience

Allow each layer of polish to dry completely before moving on to the next. Patience is key to achieving a seamless transition between colors without smudging.

Invest in Quality Brushes

Quality brushes contribute to a smoother blending process. Invest in soft, fine brushes to achieve precise and well-blended Ombre nails.

Experiment with Different Angles

Vary the angles at which you apply the colors to create different Ombre effects. Diagonal, horizontal, or vertical gradients offer diverse and eye-catching results.

Styling Ombre Nails

Ombre nails complement various styles and occasions. Here are some suggestions on how to showcase your gradient nails:

Casual Chic

For everyday wear, opt for subtle ombre nails with neutral tones. This effortlessly chic style adds a touch of elegance to your daily look.

Special Occasions

Elevate your Ombre nails for special events by choosing vibrant and contrasting colors. Sparkling glitter or metallic accents can also enhance the glamour for weddings, parties, or celebrations.

Seasonal Transitions

Transition through seasons with Ombre nails that mirror the colors of nature. Pastels for spring, bright hues for summer, warm tones for fall, and icy shades for winter create a harmonious and seasonal look.

Maintenance and Longevity of Ombre Nails

Achieving stunning Ombre nails is just the beginning; maintaining their beauty requires proper care. Follow these tips to ensure the longevity of your Ombre nail art:

Protect Your Nails

Avoid using your nails as tools to prevent chipping and damage. You should be using gloves for tasks that may expose your nails to harsh chemicals or excessive moisture. It’s, like, really important, you know?

Regular Touch-ups

Ombre nails, um, they may require, you know, like, occasional touch-ups as your natural nails grow. Consider revisiting the gradient effect to, like, maintain a polished and seamless look that’s, like, totally Instagram-worthy.

Moisturize Your Cuticles

Keep your cuticles, um, well moisturized, you know, to promote overall nail health. Dry cuticles can, like, lead to chipping and, uh, affect the longevity of your Ombre nails, which would be, like, a total bummer, right?

Gentle Nail Polish Removal

When you remove nail polish, you must, like, use a gentle acetone-free nail polish remover, you know? So, like, you can avoid drying out your nails and, um, damaging the Ombre effect, which would, like, totally ruin your fabulous nail game, girl!

So, yeah, just keep these tips in mind and your Ombre nails will, like, totally last forever! Well, not forever, but, you know, like, for a really long time!

FAQs about Ombre Nail Art

1. What is ombre nail art?

Ombre nail art involves blending two or more colors seamlessly to create a gradient effect on the nails. This technique can range from subtle to bold, depending on the colors and blending method used.

2. What tools do I need for ombre nails?

Typically, you’ll need:

  • Nail polish in two or more colors
  • A makeup sponge or a sponge applicator
  • Nail polish remover
  • A base coat and top coat
  • Tape (optional, for easier cleanup)

3. How do I create an ombre effect at home?

  1. Prepare your nails: Apply a base coat and let it dry.
  2. Apply base color: Paint your nails with the lightest color of your choice and let it dry.
  3. Blend the colors: Apply the two or more colors you want to blend onto a sponge. Dab the sponge onto your nails in a patting motion, gradually blending the colors together.
  4. Clean up: Use a brush dipped in nail polish remover to clean up any excess polish around your nails.
  5. Seal the design: Apply a top coat to smooth out the texture and add shine.

4. Can I use regular nail polish for ombre nails?

Yes, regular nail polish works well for ombre designs. However, you may find that gel polishes offer longer-lasting results and a more vibrant gradient.

5. How can I make the ombre effect last longer?

To make your ombre nails last longer, use a high-quality base coat and top coat. Also, avoid soaking your nails in water and be gentle with them to prevent chipping.

6. What are some popular ombre color combinations?

  • Pink to white: A soft, feminine gradient.
  • Blue to purple: A cool, dreamy blend.
  • Red to orange: A vibrant, fiery transition.
  • Black to gray: A sleek, edgy look.

7. Can I do ombre nails with glitter?

Absolutely! You can incorporate glitter into your ombre design by applying it to one of the colors or using a glitter polish as the top layer.

8. What if I make a mistake or it looks uneven?

If the ombre effect is uneven, you can try to blend it further with the sponge or add a touch more polish to correct the gradient. If all else fails, use nail polish remover to start over and try again.

9. How do I remove ombre nail art?

To remove ombre nails, soak a cotton pad in nail polish remover and press it against your nail for a few seconds. Gently rub or swipe the pad to remove the polish. It may take a bit longer than removing a single-color polish due to the blending of colors.

10. Are there any tips for beginners?

  • Practice makes perfect: It might take a few tries to get the gradient just right.
  • Use a light hand: When dabbing the sponge, use a light tapping motion to avoid harsh lines.
  • Be patient: Allow each layer of polish to dry before applying the next one to prevent smudging.

Feel free to experiment with different techniques and colors to find what works best for you. Ombre nail art is versatile and can be customized to suit any style!

Leave a Comment